5 Key Checks Before Your Mirror Dash Cam Installation
By Ben Carter
5 Smart Checks Before You Install a Mirror Dash Cam
Before you snap that slick screen over your rearview, do these five quick checks. They take minutes. They save hours. Here's the thing: Mirror Dash Cam Installation gets wildly easier when you plan power, fit, and cable paths up front. If you're still shopping, I’ll point you to my favorite picks on Consumer's Best at the end.
1) Power first: test the source you’ll actually use
Plug a phone charger into the 12V socket and see if it’s switched (turns off with the car) or constant (stays on). That one-minute test tells you whether your cam will loop-record only while driving or also run parking mode. Planning a hardwire? Use an add‑a‑fuse and a proper ground point—never piggyback off airbag or safety systems. A cheap multimeter helps you find ACC (switched) and BATT (constant) fuses, and a hardwire kit with low‑voltage cut‑off protects your battery. Do this first and the rest of your Mirror Dash Cam Installation stops being guesswork.
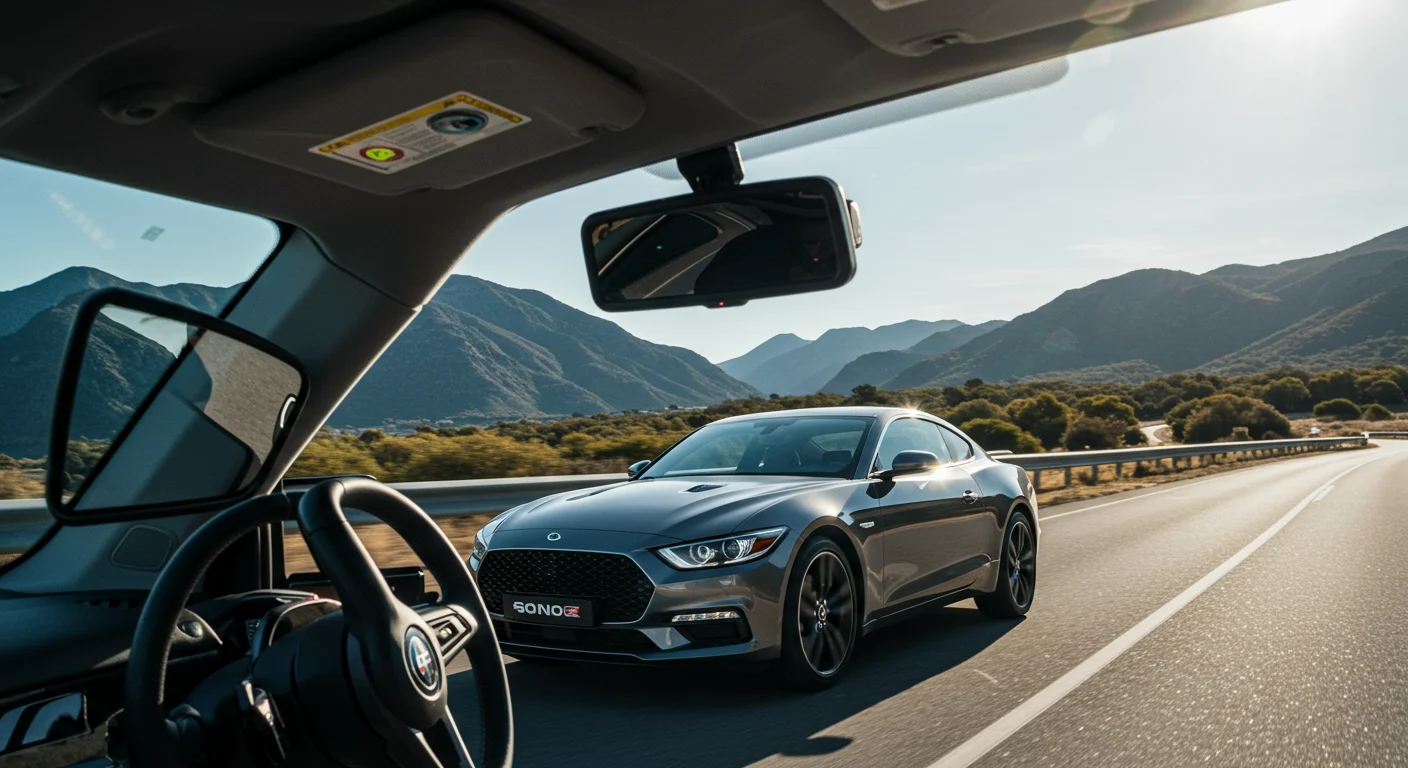
2) Fit and visibility: will it sit right on your mirror?
Not every car mirror is the same shape. Some have chunky housings and forward‑facing sensors. Strap your unit on loosely and check three things: can you still see the road clearly, do the straps grab firmly without pinching wires or mirror buttons, and does the screen avoid the tint band at the top of your windshield? Quick tip: sit in your usual position at night and check glare and brightness. If you’ve got driver‑assist cameras near the mirror, make sure the mount doesn’t block them. A two‑minute mock fit avoids a painful redo mid‑Mirror Dash Cam Installation.
3) Cable route game plan (and airbag safety)
Map your route before you tuck a single inch of wire. The easy path: tuck the front cable into the headliner, drop down the passenger‑side A‑pillar, then run along the door weatherstripping and under the sill trim. Important: airbags often live behind A‑pillars—run the cable behind the trim but outside the airbag’s deployment path. For hatchbacks and SUVs, leave slack at the hinge and pass through the factory rubber boot to the rear glass. Do a temporary run with painter’s tape to confirm the rear cable actually reaches. It’s a tiny step that saves headaches during Mirror Dash Cam Installation.
4) Storage and settings: make the video worth keeping
Use a high‑endurance microSD (U3/V30) from a reputable brand—these cards survive heat and constant overwriting. 128GB is a sweet spot for most folks; go 256GB if you drive a lot or record 4K. Format the card in‑cam before first use. Set loop length (3 minutes is a nice balance), enable HDR if your model offers it, and dial G‑sensor sensitivity to avoid locking every speed bump. If you prefer privacy, toggle audio off. Tiny tweaks here mean your Mirror Dash Cam Installation produces footage you can actually rely on later.
5) Dry run, then mount for real
Power everything up before final mounting. Check front framing (keep the horizon level), flip the rear camera if the image is mirrored, and confirm reverse guidelines if you’re using a backup trigger wire. Clean glass with isopropyl alcohol, warm the adhesive pad with the car’s heater if it’s cold, and give adhesive 24 hours to cure when possible. Don’t crank strap tension so hard you stress an auto‑dimming mirror—snug is enough. Tuck slack so the cable doesn’t dangle into view or rub the headliner. Do the slow work once and your Mirror Dash Cam Installation will feel factory‑clean.
Quick picks and next steps
If you haven’t bought yet, I’ve tested a bunch. Look for models with solid hardwire kits, crisp 2K or 4K front sensors, and reliable parking modes that don’t false‑alarm all night. When you’re ready, search for Consumer's Best and check my current mirror dash cam roundup—I keep it short, honest, and updated. Then come back here, breathe, and install with confidence. You’ve got this.


