Your Complete Serta Heated Pad User Guide: From Box to Bliss
By Ben Carter
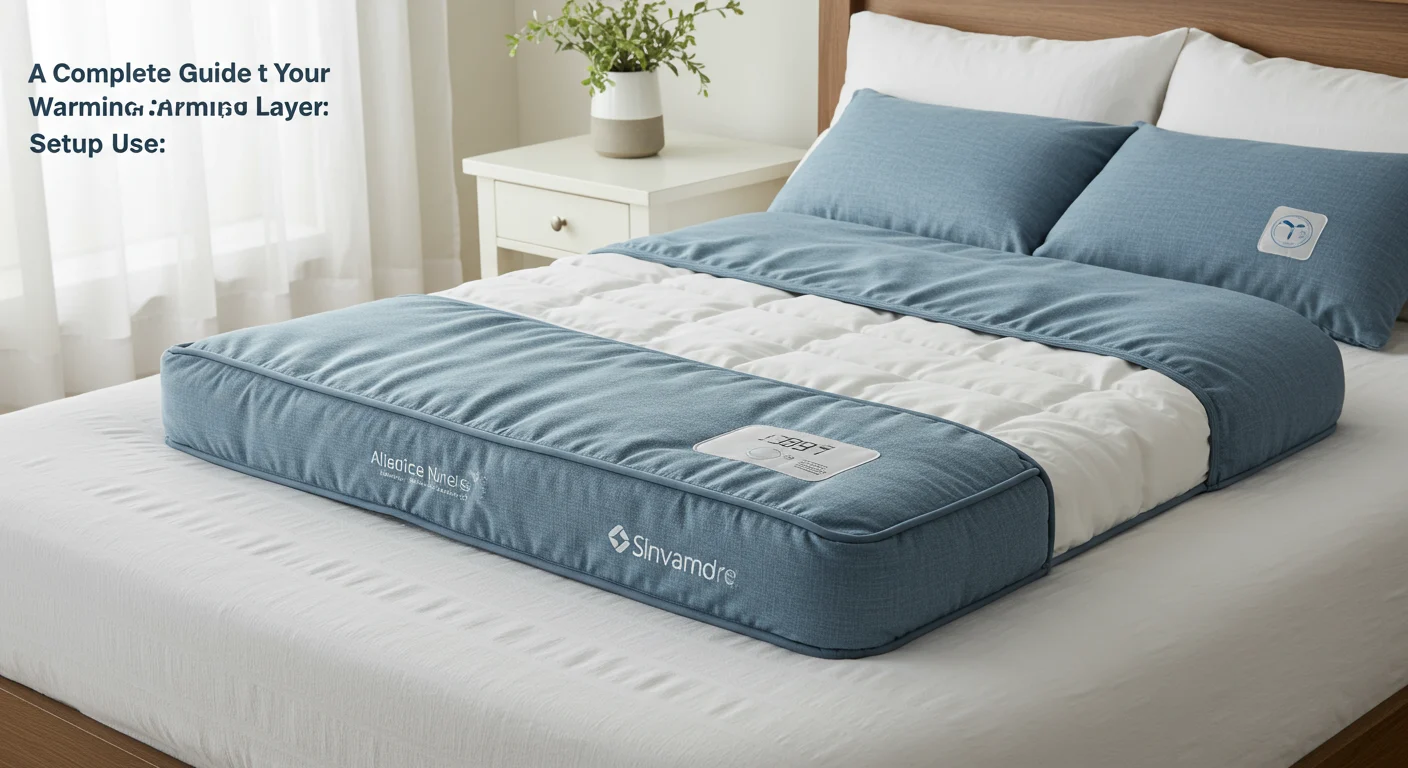
Your Sleep Number Warming Layer, Explained: Setup, Settings, and Smarter Use
If you just brought home the Sleep Number Warming Layer, good call. It’s a simple way to make cold sheets a non-issue. Here’s the thing—setup is easier than it looks, but a few tiny details make a big difference. I’ll walk you through how to install it, dial in the heat, keep it clean, and fix little quirks before they become “why isn’t this warming?” headaches. This is your friendly sleep number warming layer guide, minus the fluff.
First, what it is (and what it isn’t)
Think of the Warming Layer as a slim, breathable pad that lives on top of your mattress and under your fitted sheet. It’s not a heavy electric blanket and it’s not trying to roast you. It’s designed to pre-warm the bed and keep a gentle, even temperature across the surface so you relax faster and stay cozy without the sweaty hot-cold cycle.
Most sizes have two sides so each sleeper can choose their own heat level. Settings are typically simple—think levels and timers rather than complicated menus. If you’re skimming, here’s the short version of this sleep number warming layer guide: place, plug, preheat, then fine-tune.
What’s in the box and where it goes
You’ll usually find the layer itself, detachable power leads, and either a controller per side or a shared controller with two zones. The layer goes directly on your mattress, smooth and centered, with labels at the head. Your fitted sheet goes over the top like normal. If your mattress is adjustable, route the cords so they move freely when the head or foot goes up—no pinching between the base and the wall. Believe it or not, cord routing is the thing most people overlook.
Quick setup (the no-drama walkthrough)
Lay the Warming Layer flat on the mattress with the connectors toward the foot or the side specified on the tag. Smooth out wrinkles with both hands—creases can create hot spots. Connect each power lead until it clicks snugly. Now route the cords along the side of the bed, not under your body, and plug into the power supply, then the wall. A surge protector is fine; just avoid daisy-chaining power strips.
Put on your fitted sheet and power on. Start at a middle setting, give it 10–20 minutes to preheat, then adjust. If your room runs cold, preheat earlier and drop the level a notch once you climb in. That’s the move seasoned owners swear by in every sleep number warming layer guide I’ve seen—and I agree.
Dialing in the heat (levels, timers, and two-sleeper peace)
Here’s the sweet spot: warm enough to relax your muscles, low enough to forget it’s on. Many folks end up a notch or two below their first guess once they’ve preheated. If your bed is a queen or larger, you’ll likely have two zones—great for couples who never agree on temperature. Set yours without negotiating; your partner can do the same on their side. Timers are your friend if you tend to overheat at 3 a.m.—set it to shut off after you’ve drifted off.
Pro tip I use myself: layer a breathable cotton or performance sheet over the pad and skip super-heavy comforters. You get steady warmth without trapping humidity. Yep, that tiny tweak matters more than you’d think in any practical sleep number warming layer guide.
Safety must-knows (short and important)
Don’t bunch, fold, or tuck the Warming Layer. Keep it flat and smooth under a fitted sheet. Avoid pins, clips, or anything that pierces fabric. If you notice unusual hot spots, turn it off and let it cool while you check for wrinkles or trapped cords. As with any heated bedding, infants, pets, or anyone who can’t adjust their own heat should be supervised. If you have an implanted medical device or special health considerations, a quick “okay?” from your doctor is wise.
Cleaning and care (so it lasts)
Unplug and detach all cords before cleaning. Check the care tag—many warming layers are machine-washable on gentle, cold water, and can be air-dried flat. If yours says spot clean only, stick to that. No bleach, no dry cleaning, and no wringing. Store it flat (or loosely rolled) in a cool, dry place when not in use. Folding sharply or stuffing it into a tight bin is how people shorten the life of their gear, believe it or not.
Troubleshooting that actually helps
No power? Confirm the wall outlet works by testing a lamp. Reseat each connector until it’s fully clicked in. If only one side warms, swap the controller leads left-to-right; if the problem follows the lead, the issue is with the controller or cable. If neither side gets warm, give it a full power reset: unplug the unit for 60 seconds, plug back in, then test at a moderate level for 15 minutes. Still cool? Smooth the layer under the sheet—wrinkles or thick toppers can slow perceived heat. If your room is chilly, preheat longer and consider a lighter, breathable comforter that doesn’t choke airflow.
If you see blinking indicators on the controller, that’s usually a safety alert for connections or temperature. Power down, check every plug, let it cool, and try again. When in doubt, go by the manual for your exact model—this sleep number warming layer guide stays high level on purpose.
A few real-world tips I swear by
- Preheat while you brush your teeth. Then drop a level when you crawl in. You’ll fall asleep faster without waking sweaty later.
- If you run hot, set a 30–60 minute timer instead of leaving it on all night. Warm-up is the magic; staying toasty forever isn’t the goal.
- For adjustable bases, give cords a gentle “service loop” so they don’t tug or pinch when you raise the head or foot.
- Keep layers breathable: cotton or performance sheets, then your comforter. Heavy throw blankets can trap heat unevenly over the controller side.
Still deciding if it’s worth it?
If you want the no-nonsense take—who it’s for, who should skip it, and how it compares to other warming options—I wrote a full review for Consumer's Best. I get into the little things you only notice after a month of use. Search for the Consumer's Best Sleep Number Warming Layer review when you’re ready to go deeper. I’ll help you decide without any second guessing.


