Red Light Therapy Before and After: Fad or Breakthrough?
By Ben Carter
Red Light Therapy Before and After: Fad or Breakthrough?
I used to roll my eyes at those glowing masks. Then I dug into the research, tried a panel, and—here’s the thing—some of it actually holds up. Not magic. But not fluff either. If you’re curious about red light therapy before and after results, let’s talk about what changes fast, what takes time, and when to save your money.
What red light therapy really is (and how it works)
Red light therapy (also called low-level light therapy or photobiomodulation) uses specific wavelengths—typically visible red around 620–660 nm and near‑infrared around 810–850 nm. These photons sink into skin and muscle, where they’re absorbed by an enzyme in your mitochondria (cytochrome c oxidase). The short version: cells make a bit more energy (ATP), blood flow bumps up, inflammation eases, and repair signals nudge your body to do what it already wants to do—just a little better.
That’s why you’ll see it used for skin tone and texture, fine lines, sore joints, workout recovery, and even hair-thinning support. It’s gentle, noninvasive, and—you’ll like this—doesn’t feel like anything more than a warm glow.
Fad or breakthrough?
Both… depending on the promise. The evidence is strongest for skin aging (collagen support, fine lines), acne inflammation, wound healing, tendon and joint pain, and post‑exercise recovery. Hair support has encouraging data too, but you’ll need patience. Where things get wobbly: dramatic fat loss, instant scar erasing, and miracle “spot reduction.” Believe it or not, the boring take is the right one—used consistently, it’s a quietly useful tool, not a sci‑fi makeover.
Before-and-after expectations (the honest version)
If you’re chasing red light therapy before and after photos, remember: light is sneaky. Different angles and lighting can fake results. In real life, here’s the typical arc. First 1–2 weeks: subtle glow, a touch of plumpness after sessions. Weeks 3–6: small but noticeable shifts in fine lines, tone, and post‑workout soreness. Weeks 8–12: the “oh hey, this is working” moment—texture looks smoother, dark circles can soften, joints feel less cranky, and hair shedding may slow. It’s steady, not dramatic. Consistency beats intensity.
Safety first (and when to skip it)
Keep it simple. Don’t stare into the LEDs—close your eyes for face sessions or use blackout goggles. If you’re pregnant, have a history of photosensitive conditions, active cancer, or you’re on photosensitizing meds (some antibiotics, isotretinoin, certain diuretics), talk to your clinician first. Avoid using it over active infections or fresh tattoos. Start slow to avoid warmth or redness from overdoing it—more isn’t always better with light.
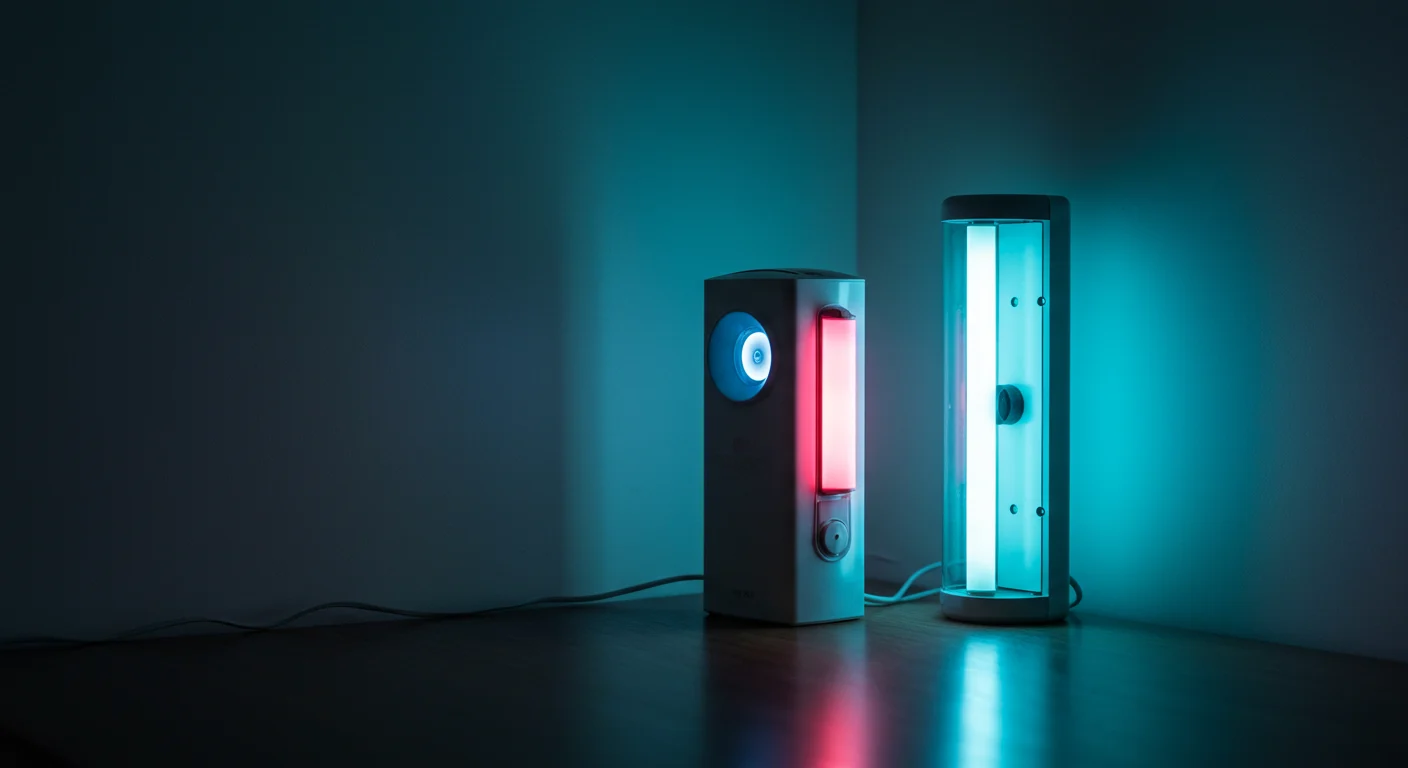
How to choose a device without getting duped
Aim for the fundamentals: wavelengths in the 630–660 nm (red) and 810–850 nm (near‑IR) range, with a measured irradiance of roughly 30–100 mW/cm² at your real treatment distance (usually 6–12 inches). Panels cover more area and save time; masks are comfy for face‑only routines; handhelds are great for spot treatment but require patience. I don’t chase fancy pulsing modes or wild claims—consistency, coverage, and build quality matter most.
A couple of quick tells: transparent specs, heat management that doesn’t roast you, and a solid warranty. FDA registration/clearance for intended use is a nice plus. If a product dodges all details, I dodge the product.
How to use it at home (so it actually works)
Clean, dry skin. Position the device about 6–12 inches away. Treat each area for 8–12 minutes, 3–5 times per week. For face sessions, close your eyes; for panels, don’t overheat—if it feels too warm, back up a bit. You can moisturize afterward. If you use retinoids or strong acids, I like to alternate days or apply them later; your skin will tell you what it tolerates.
Stack it with reality: sunscreen in the daytime, decent sleep, and protein for repair. Light is a nudge, not a hall pass. You’ll get a better red light therapy before and after outcome if the rest of your routine isn’t fighting you.
Results timeline you can actually trust
Here’s the realistic cadence I see most often. In weeks 1–2, skin looks a touch fresher right after a session, soreness eases a bit quicker. Weeks 3–6 bring small but steady wins: finer pores, calmer redness, less achy knees after long days. By weeks 8–12, fine lines can soften, scars and texture look smoother, and recovery after workouts feels noticeably faster. Take photos in the same lighting and distance—your own red light therapy before and after pictures will tell the tale better than your memory.
Cost check: spa vs. home device
Studios run roughly $25–$75 per session. At 3 sessions a week, that adds up fast. A solid home panel usually runs $300–$900 and lasts for years. If you’ll use it consistently, you can break even within a couple of months—and you’ll actually stick to the schedule because, well, it’s right there in your living room.
Bottom line (and where to go next)
Is it a fad? Parts of it, sure. Is it a quiet breakthrough for everyday recovery and skin support? Yeah—if you use it right. If you want help choosing, I’ve rounded up my favorite tested devices on Consumer's Best with plain‑English pros and cons. When you’re ready to see your own red light therapy before and after, grab a device that fits your life and give it 8–12 weeks. I’ll cheer you on from the couch—panel humming, eyes closed.


